Troubleshooting Common Caladium Problems
July 24, 2024
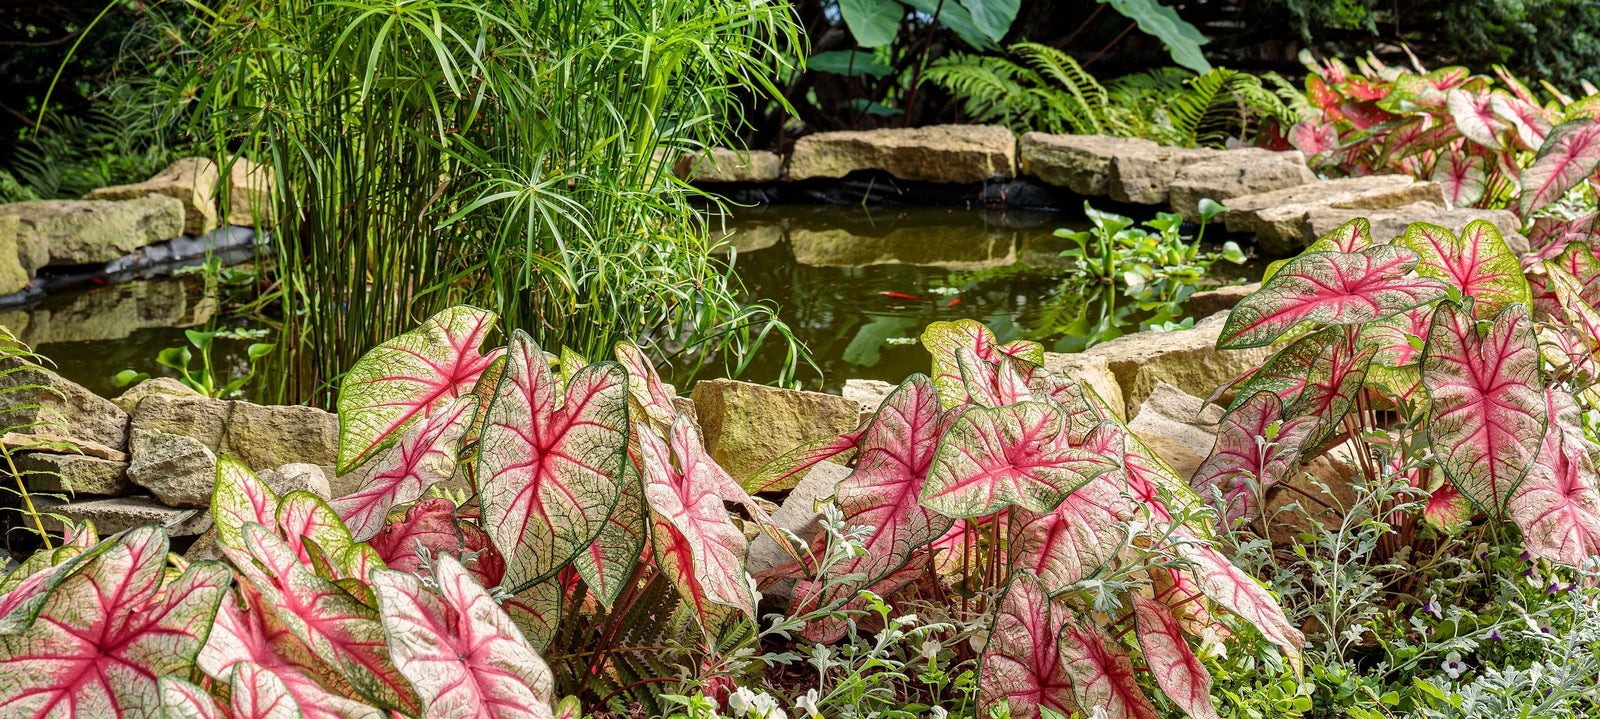
Caladiums are treasured for their showy, often dramatically variegated foliage. When provided their preferred conditions, they will thrive with little fuss. However, they can develop issues when growing conditions are not ideal. Learning to recognize and remedy a few common caladium problems will help you grow vibrant, healthy plants, no matter what variety catches your eye.
Failure to Emerge from Tubers
If planted caladium tubers fail to sprout leaves, a few factors could be to blame. Since Classic Caladiums takes care to ensure the quality of the bulbs they store and ship, the problem could lie in the planting. If bulbs have been planted too deeply, they may fail to emerge. Ideal planting depth is 2 to 3 inches. Soil temperature, moisture levels, and the orientation of the bulbs can also cause late germination. Make sure your soil is at the ideal temperature and protect new plants from the hot sun until they are established.
Leaf Edge Burn or Browning
Sometimes caladium leaves develop scorched-looking browned edges. This can arise from inadequate moisture, low humidity, too much fertilizer, or too much exposure to hot sun. Boost humidity around plants through misting and placing pots on pebble trays filled with water. Water thoroughly when the top inch of soil becomes dry. Move containers to a shadier spot out of intense afternoon sun, if needed. Finally, avoid over-fertilizing, which can damage tubers and roots.
Reduced Leaf Size
In ideal conditions, caladium leaves can grow quite large, up to 18 inches long. When plants put out much smaller leaves than expected, this often indicates insufficient nutrients. Apply balanced liquid fertilizer every 2 to 3 weeks during active growth. If you’ve planted your tubers too early, leading to damage from low soil temperatures, you may be seeing diminished output. Another potential cause is root restriction from a container that is too small. Replant tubers in wider pots, allowing ample room for root and foliage expansion, and you’ll have a better chance of big, beautiful leaves. Root disease could also cause leaves to not meet their potential. You can treat this condition with fungicides, available at most hardware stores. Finally, slow release fertilizers can help make sure your caladium leaves become their biggest, best selves.
Leaves Yellowing or Wilting
If caladium leaves yellow, wilt, or droop, the primary cause is usually improper moisture. Both under and overwatering can create issues. Check soil frequently, watering whenever the top inch becomes dry. Be sure containers have drainage holes, and use a well-aerated potting mix to prevent soggy soil. Grouping plants together helps increase humidity through transpiration. Mist foliage if humidity seems low. Adjust watering practices if drainage is poor or plants are exposed to drying winds or too much hot sun.
Foliage Stunted and Distorted
Certain pests and diseases can distort caladium leaves. Insect pests like spider mites, aphids, and thrips pierce leaf tissues while feeding. Various fungal or bacterial leaf spots also cause distorted growth. Inspect plants regularly under leaves and along stems for signs of attackers. Treat pest infestations promptly with insecticidal soap for mild attacks. Severe infestations may warrant chemical pesticides or fungicides. Improve air circulation and avoid wetting foliage when watering to make conditions less favorable for disease development. And definitely Isolate seriously infected plants to prevent spreading while you treat the issues.
Conscientious monitoring and adjustment of care practices when problems arise can help maintain lush, vibrant caladiums. Their long-lasting summer color and striking foliage make overcoming any challenges well worth the effort!
Check out our Caladiums
Related Articles
Water and Fertilizer Tips for Happy, Healthy Caladiums
April 04, 2025
Gardeners of every skill level, from novice to professional, can succeed in growing caladiums. One key reason is that despite...
Should You Prune Caladiums? How to Trim Without Damaging Your Plant
April 04, 2025
Caladiums have a full, lush growing habit people love. Sometimes, to keep your caladium healthy and control its shape, you...

5 Stunning Ways to Add Caladiums to Your Garden Design
March 10, 2025
Few plants can match caladiums for instant impact. Their bold color and texture, combined with their lush growing habit, elevate...
Caladium Container Ideas: 6 Stunning Combinations for Your Home & Garden
March 10, 2025
Their striking colors and compact growing habit make caladiums a wonderful container plant, bringing visual interest to your home indoors...
Caladium Planting Guide: How to Plant Caladiums for a Lush, Vibrant Garden
March 10, 2025
Despite their exotic appearance, caladiums are surprisingly hardy and easy to grow. Everyone from a master gardener to a complete...
Pair These Plants with Caladiums for Gorgeous Containers
March 10, 2025
Caladiums are prized for their ability to bring season-long color and dramatic flair to a landscape. You might not realize...